• Online PDF: Getting Started with Maya
• Review Shading
Tools/techniques:
• Multilister/Hypershade
• Create, Edit, Assign, Duplicate shaders
• NURBS Tessellation
• Attribute Editor, Attribute Spread Sheet
• Surface Normals
• Display, editing
• Shader attributes, mapping
• UV/Solid procedural mapping
• Edit Polygons texture tools
• Poly UV texture editor
• Photoshop and texture editing
• 3Dpaint
• Paint effects
• Rendering IPR/globals
Turn-in:
• Please turn in all six Maya .ma or .mb files for part 1 and one .ma or .mb for part 2, as well as seven high qualty 1024x768 jpgs to the turn-in folder. (please put them in a folder labeled with your name)
• Be sure to name your files: "lastname_firstname_projectname".mb or .ma, "lastname_firstname_projectname".jpg
- Part 1: Shade and render NURBS and poly primitives
• Compose a scene consisting of NURBS primitives (Sphere, Cube, Cone, Torus, Plane, Cylinder)
1. Apply a checkerboard shader to all NURBS primitives (Color map)
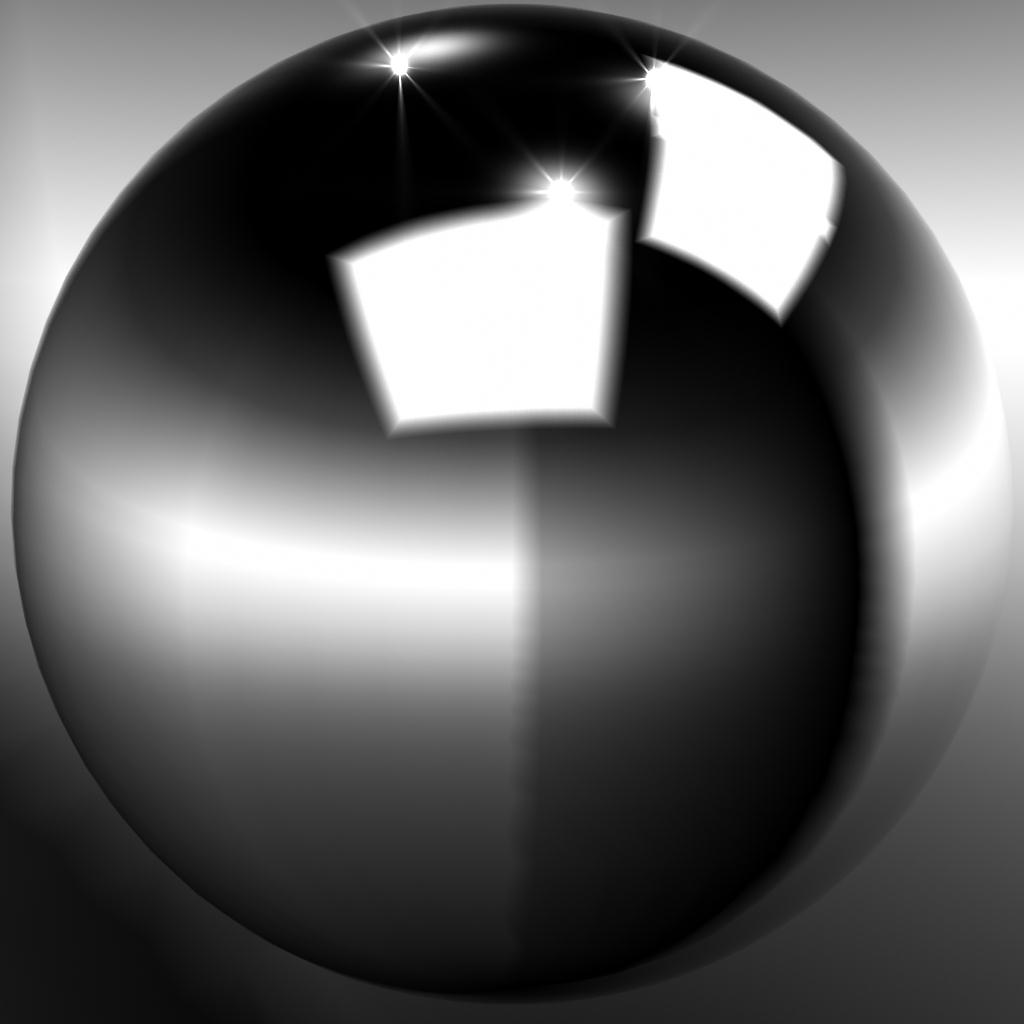
2. Apply a metal shader to all NURBS primitives (Color, bump, specular, reflection maps)
3. Apply a glass shader to all NURBS primitives (Transparency, reflection maps, Ray trace)
• Compose a scene consisting of poly primitives (Sphere, Cube, Cone, Torus, Plane, Cylinder)
1. Apply a checkerboard shader to all poly primitives (Color map)
2. Apply an animal skin shader to all poly primitives (Color, bump, specular)
3. Find an interesting texture for reference and recreate it with a procedural shader and apply a shader of your choice to all poly primitives (Color? Bump? Specular? Transparency? Etc...)
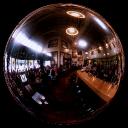
• Images for reflection maps: chrome, cafe
• Render each as an 1024x768 jpeg
- Part 2: Shade and render scene scene_clear_maya.mb
• Download the starter files here- Glass - Phong
• Reflection map - env sphere - mp_ref.tga - Wine - Phong, alter color channel
• Reflection map - env sphere - mp_ref.tga - Wall - Lambert, repeat texture as needed
• Color map - normal - mp_clr_wall1.tga
• Molding - Blinn
• Color map - normal - ramp
• Specular map - solid fractal alter colors
• Reflection map - env sphere - mp_ref.tga - Apple skin - Blinn
• Color map - normal - ramp alter colors
• Bump map - solid fractal minimize the bump
• Specular map - solid fractal alter colors
• Reflection map - env sphere - mp_ref.tga - Stem - Lambert
• Bump map - solid fractal alter colors
• Specular map - solid fractal - Wood block - Blinn, position the texture icons as needed
• Color map - as projection - mp_clr_wood.sgi
• Bump map - as projection - mp_clr_wood.sgi
• Specular map - as projection - mp_clr_wood.sgi
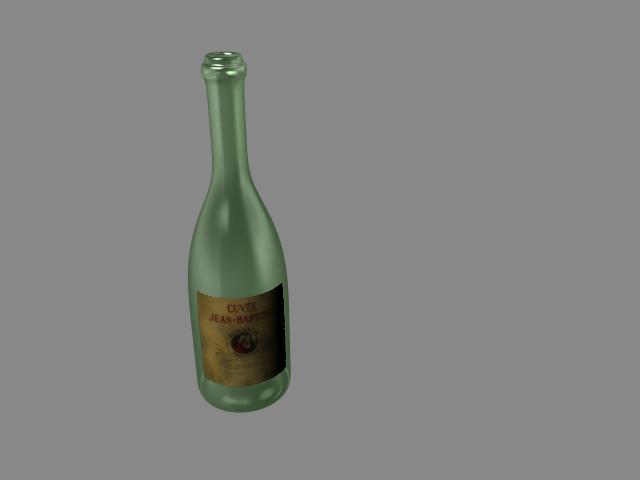
• Reflection map - env sphere - mp_ref.tga - Bottle - Phong, refer to example render
• All maps will need to be in the same positions on the bottle
• Color map - normal - mp_clr_label.jpg
• Specular map - normal - mp_spec_btl.jpg
• Transparency map - normal - ramp give the ramp a solid color, and in the ramps white channel (color Gain) place mp_trans_btl.jpg
• Reflection map - env sphere - mp_ref.tga - Counter - Blinn, repeat the texture map as needed
• Color map - normal - mp_clr_tile.jpg
• Bump map - normal - mp_bump_tile.jpg
• Specular map - normal - mp_spec_tile.jpg
• Reflection map - env sphere - mp_ref.tga
• Render a high quality 800x600 jpeg
- Glass - Phong
- Tips:
• Be sure to start early so you can bring your questions and problems to office hours.
• Last but not least - save EARLY and save OFTEN!
• When referencing an image that you have in a particular shader, always:
• Place the image file in your network folder NOT anywhere on your local machine.